I found this palette as a starting point:
Color by COLOURlovers
Then I used the Spoonflower color guide I have printed out to find the RGB value for colors that look like those when printed, rather than on the computer screen. In particular the red color looks much pinker on the screen than it does in the fabric. Then I googled for a basic mask pattern, and found this, which from looking at some of the other contest entries, I'm guessing other folks used as their base as well! The design I came up with is here.
For fun, I actually got the mask printed out and sewed it together! I got it on knit instead of the usual quilting-weight woven cotton, which definitely added to the challenge. Knit fabric, curved seams, 3D shape - it's like a hit list of sewing difficulties. Here's what that process looked like.
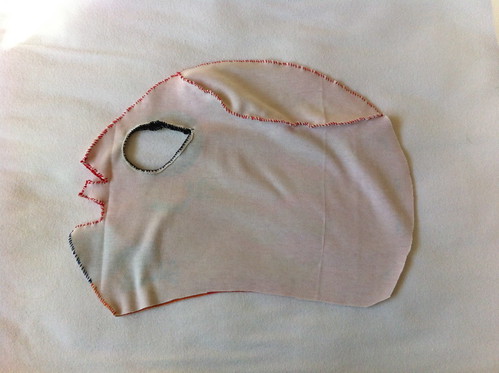
First, here are all the pieces cut out:
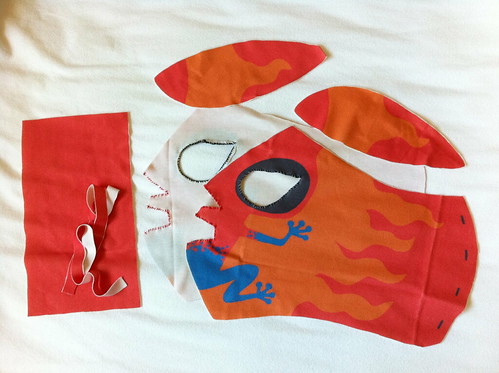
At this first stage, I also whip-stitched around the eye and mouth holes, to try to strengthen them. This was only partially successful - they still warped a bit.
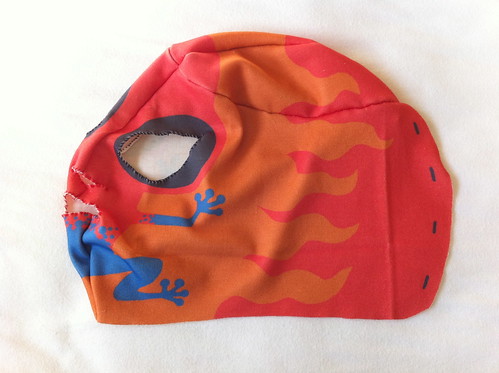
Next, I stitched the two "melon" pieces to the tops of the main mask pieces. Again I used whipstitching to try to allow for more stretching than a hemstitch. With this pattern it doesn't matter so much if the seam allowances exactly reach 1/4".
That resulted in two large pieces, which I then sewed together. They needed to be sewn just along the top & front, leaving the back (and bottom, of course) open.
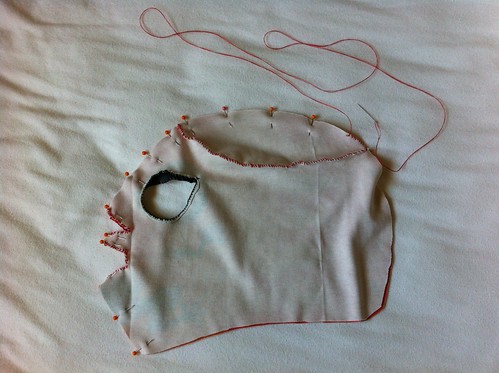
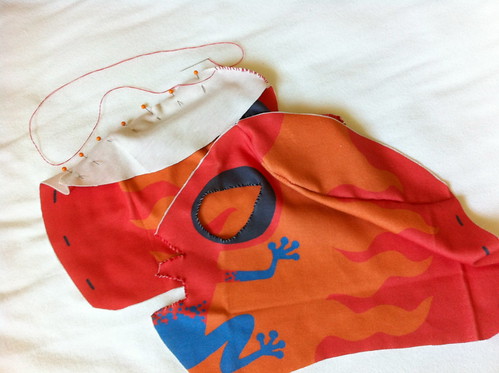
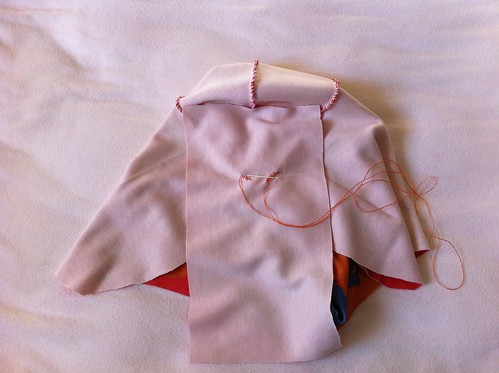
Here's how that looks completed, with the mask still inside out.
I actually ran out of red thread partway through, so I used blue and orange thread on the blue & orange parts where the face meets.
Here it is right side out now:
Rather pleasingly mask-like, if I say so myself!
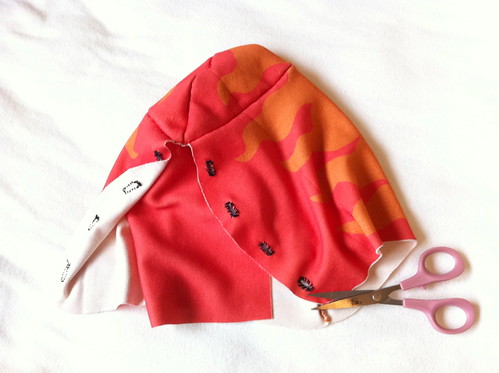
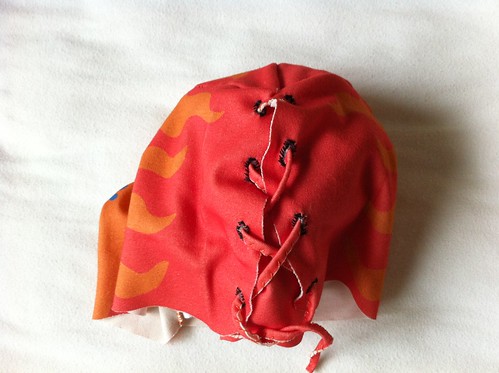
Next, I sewed the extra flap of red fabric into the back to form a "tongue" for under the laces. I ended up sewing it onto the existing seams at the top back so the stitches wouldn't show on the outside. Note that the flap is longer than it needs to be, so I left the extra just hanging around on the inside for now.
Then I sewed four (rather rough) button holes (lace holes?) onto each side of the back.
I also had the "lace" as part of the pattern. Unfortunately though, when printed out on knit, the long way of the lace was perpendicular to the rib, so it was quite a bit stretchier and weaker than I would have liked. Oh well, you learn something every day! I just whipstitched it down the whole length.
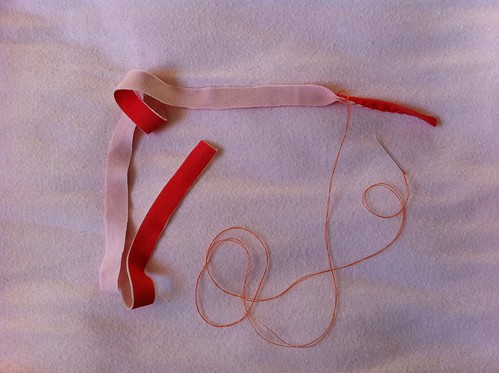
Then it was just a matter of running the lace through the holes!
One other thing I would have changed about the print on knit was the orientation of the main mask pieces - as it was, the rib was vertical on the face, meaning it was stretchiest parallel to the seam down the middle. This also contributed a bit to fragility & warping. Also, since the print is only on the top of the knit, any stretched areas look faded due to the unprinted parts between the rib peeking out. But again, just a project for fun, so not a big deal! I'm definitely glad I did this. Finding out those gotchas about how the print alignment plays with the rib alignment could be valuable information for the future.
No comments:
Post a Comment