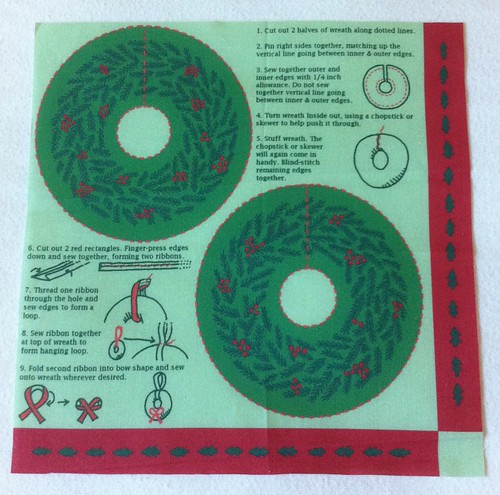
...and today I sewed it together. As you can see, there are some instructions on the pattern itself, but I thought it might be nice to expand on them.
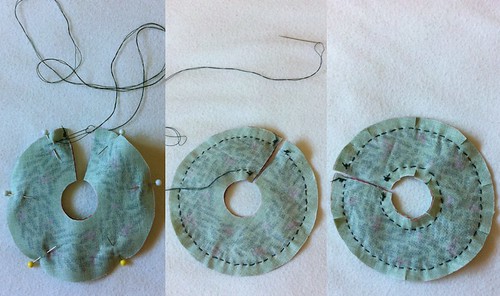
First, I cut out the two main pieces, pinned them together, and sewed the inner and outer circles. I clipped the seams to make it easier to make it easier to turn inside out.
Turning it inside out was a little difficult due to the small size. I used a skewer to push it through.
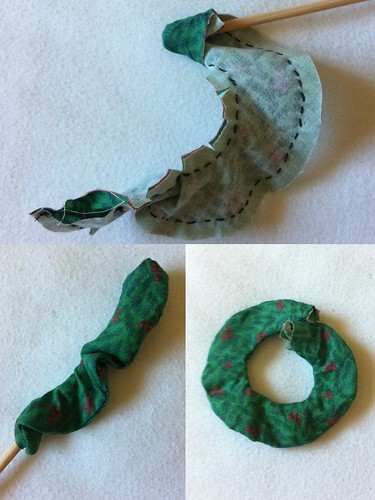
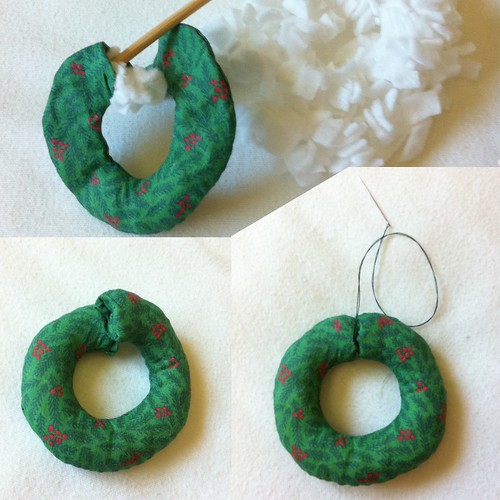
Then, I used the skewer to stuff it. I didn't have any stuffing on hand, so I cut up some leftover quilt batting and used that instead! Once it was filled up, I blind stitched it shut.
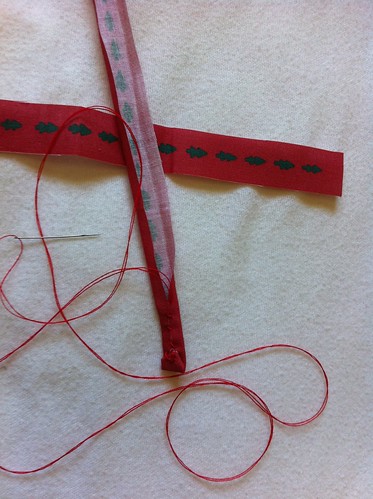
I finger-pressed and tacked down the two "ribbon" pieces. If I were making this from scratch, I'd probably just use actual ribbon instead to avoid dealing with the raw edges this way, but I thought it would be more fun to make it part of the pattern for the contest.
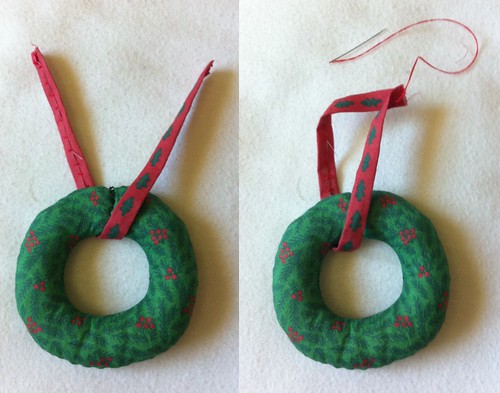
I looped one of the ribbons through the hole in the wreath. I messed it up a few times by not getting the trees upright on the side I wanted to be the top! But once it's looped in the right way, it's just a matter of sewing the ends together.
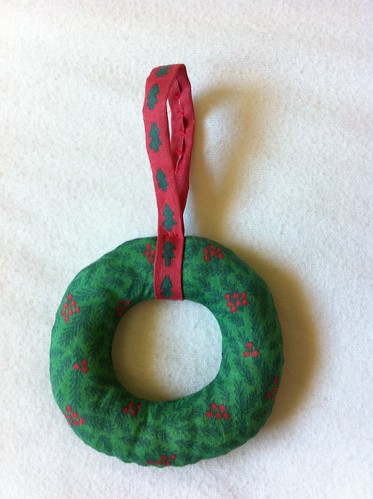
Just a few stitches were needed to close it at the top of the wreath to form the loop for hanging. I made sure that the seam in the ribbon sat at the bottom of the inside of the wreath so as to be least visible.
Then I folded the second ribbon into a faux bow and put in a few stitches to hold the shape.
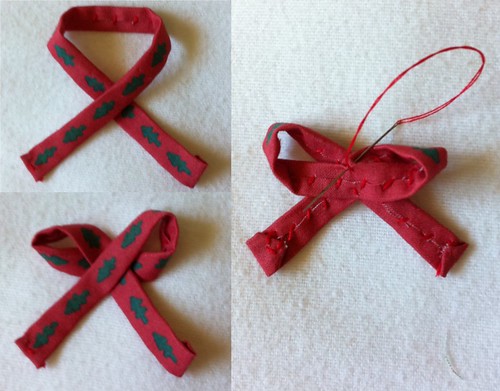
Then it was just a few more stitches to put it on the wreath, and viola!

No comments:
Post a Comment