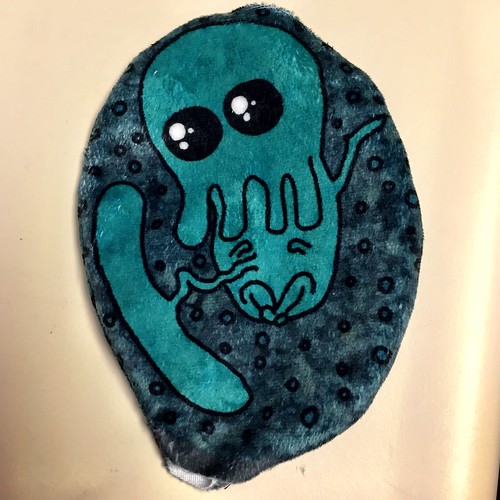
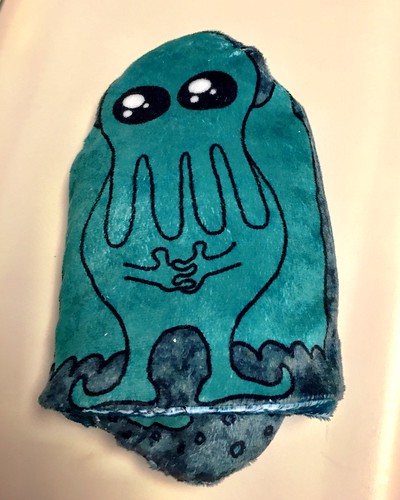
I was finally able to sew together the
Cthulhu pillow I designed - I gave it to
my niece for her birthday. Fortunately, my design worked the way I was hoping so I don't need to tweak
the fabric.
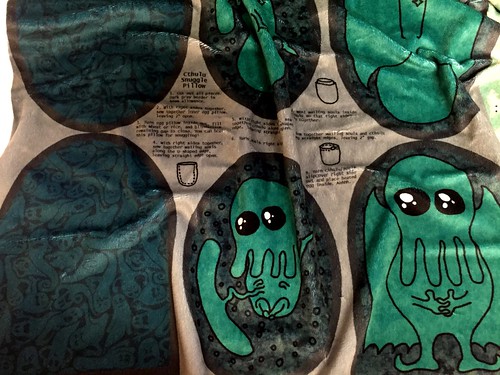
I got it printed out on the "minky" fabric, which looked like this:
Then cut out all the pieces.
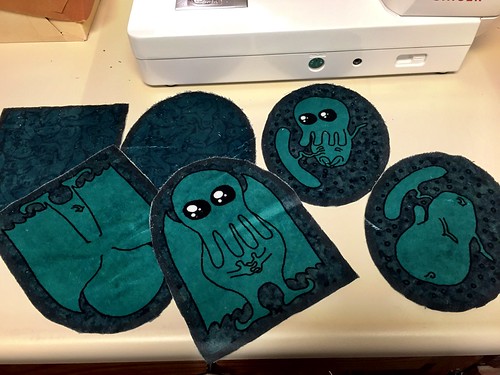
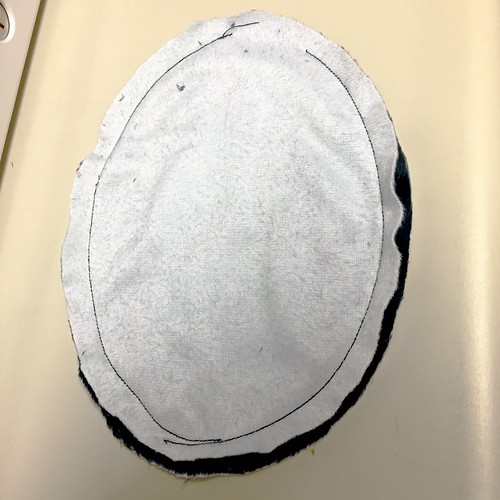
First, I sewed together the inner pillow, right sides together, leaving a gap for reversing and stuffing.
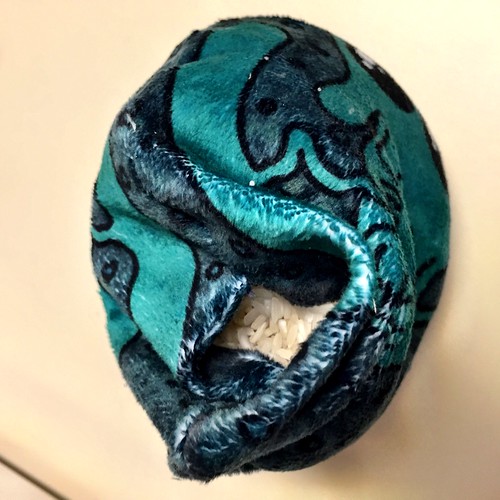
Then I filled it with rice. (And sewed the gap shut - by hand - after taking this picture)
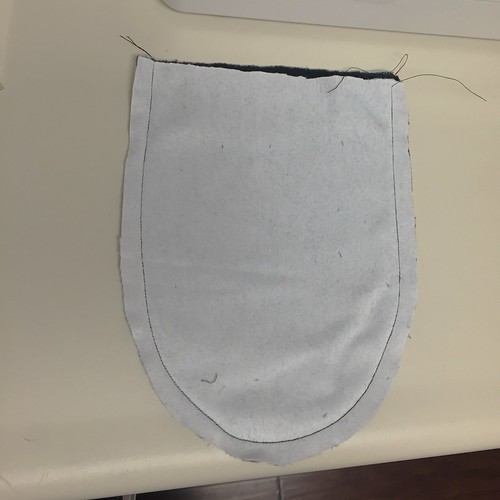
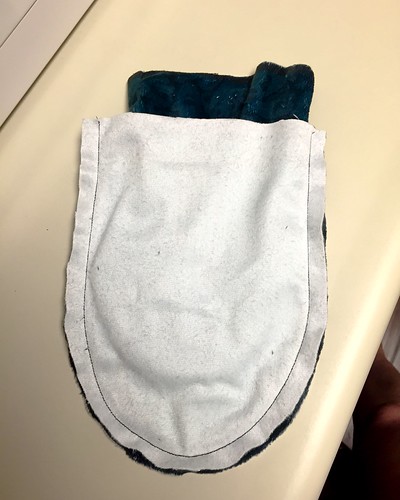
Next, I sewed the two sides of the slipcase together separately - just along the curve, leaving the bottom open.
Then, I turned one half of the slipcase right side out and put it inside the other.
I sewed the two halves together, again leaving a gap.
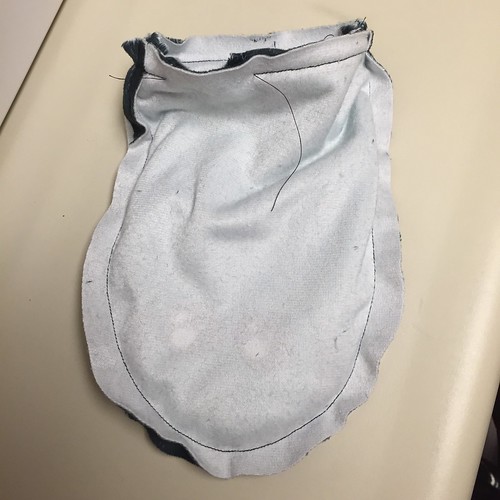
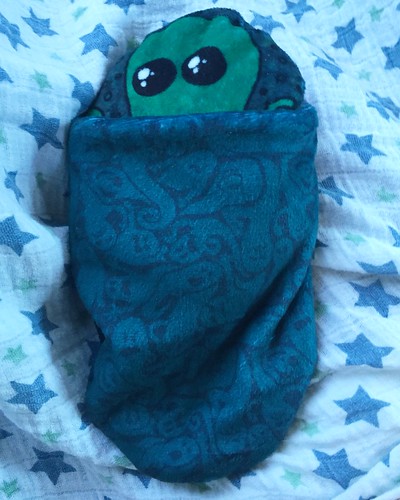
Here's what it looks like turned right side out.
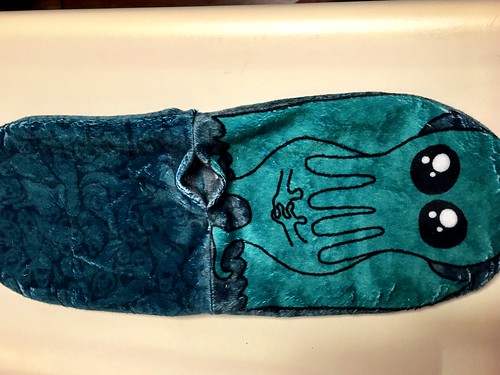
And then turned so that the lining is inside the outer case, gap sewn shut.
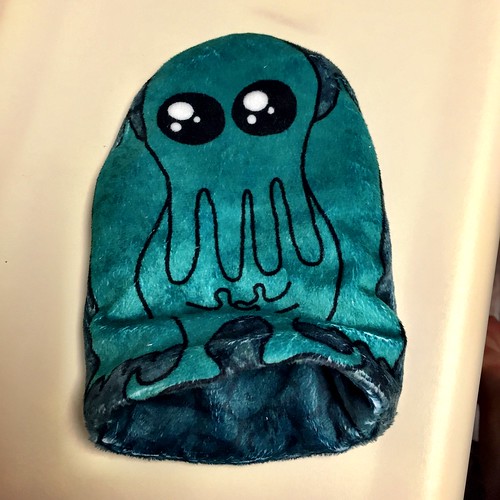
And voila, now the rice-filled pillow can be heated or cooled, and placed inside the slipcover!
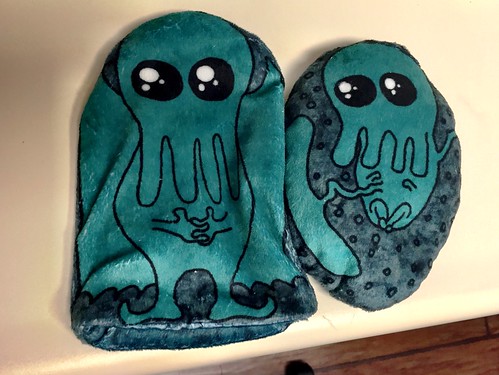
Also you can reverse the slipcover to show the pattern on the other side.