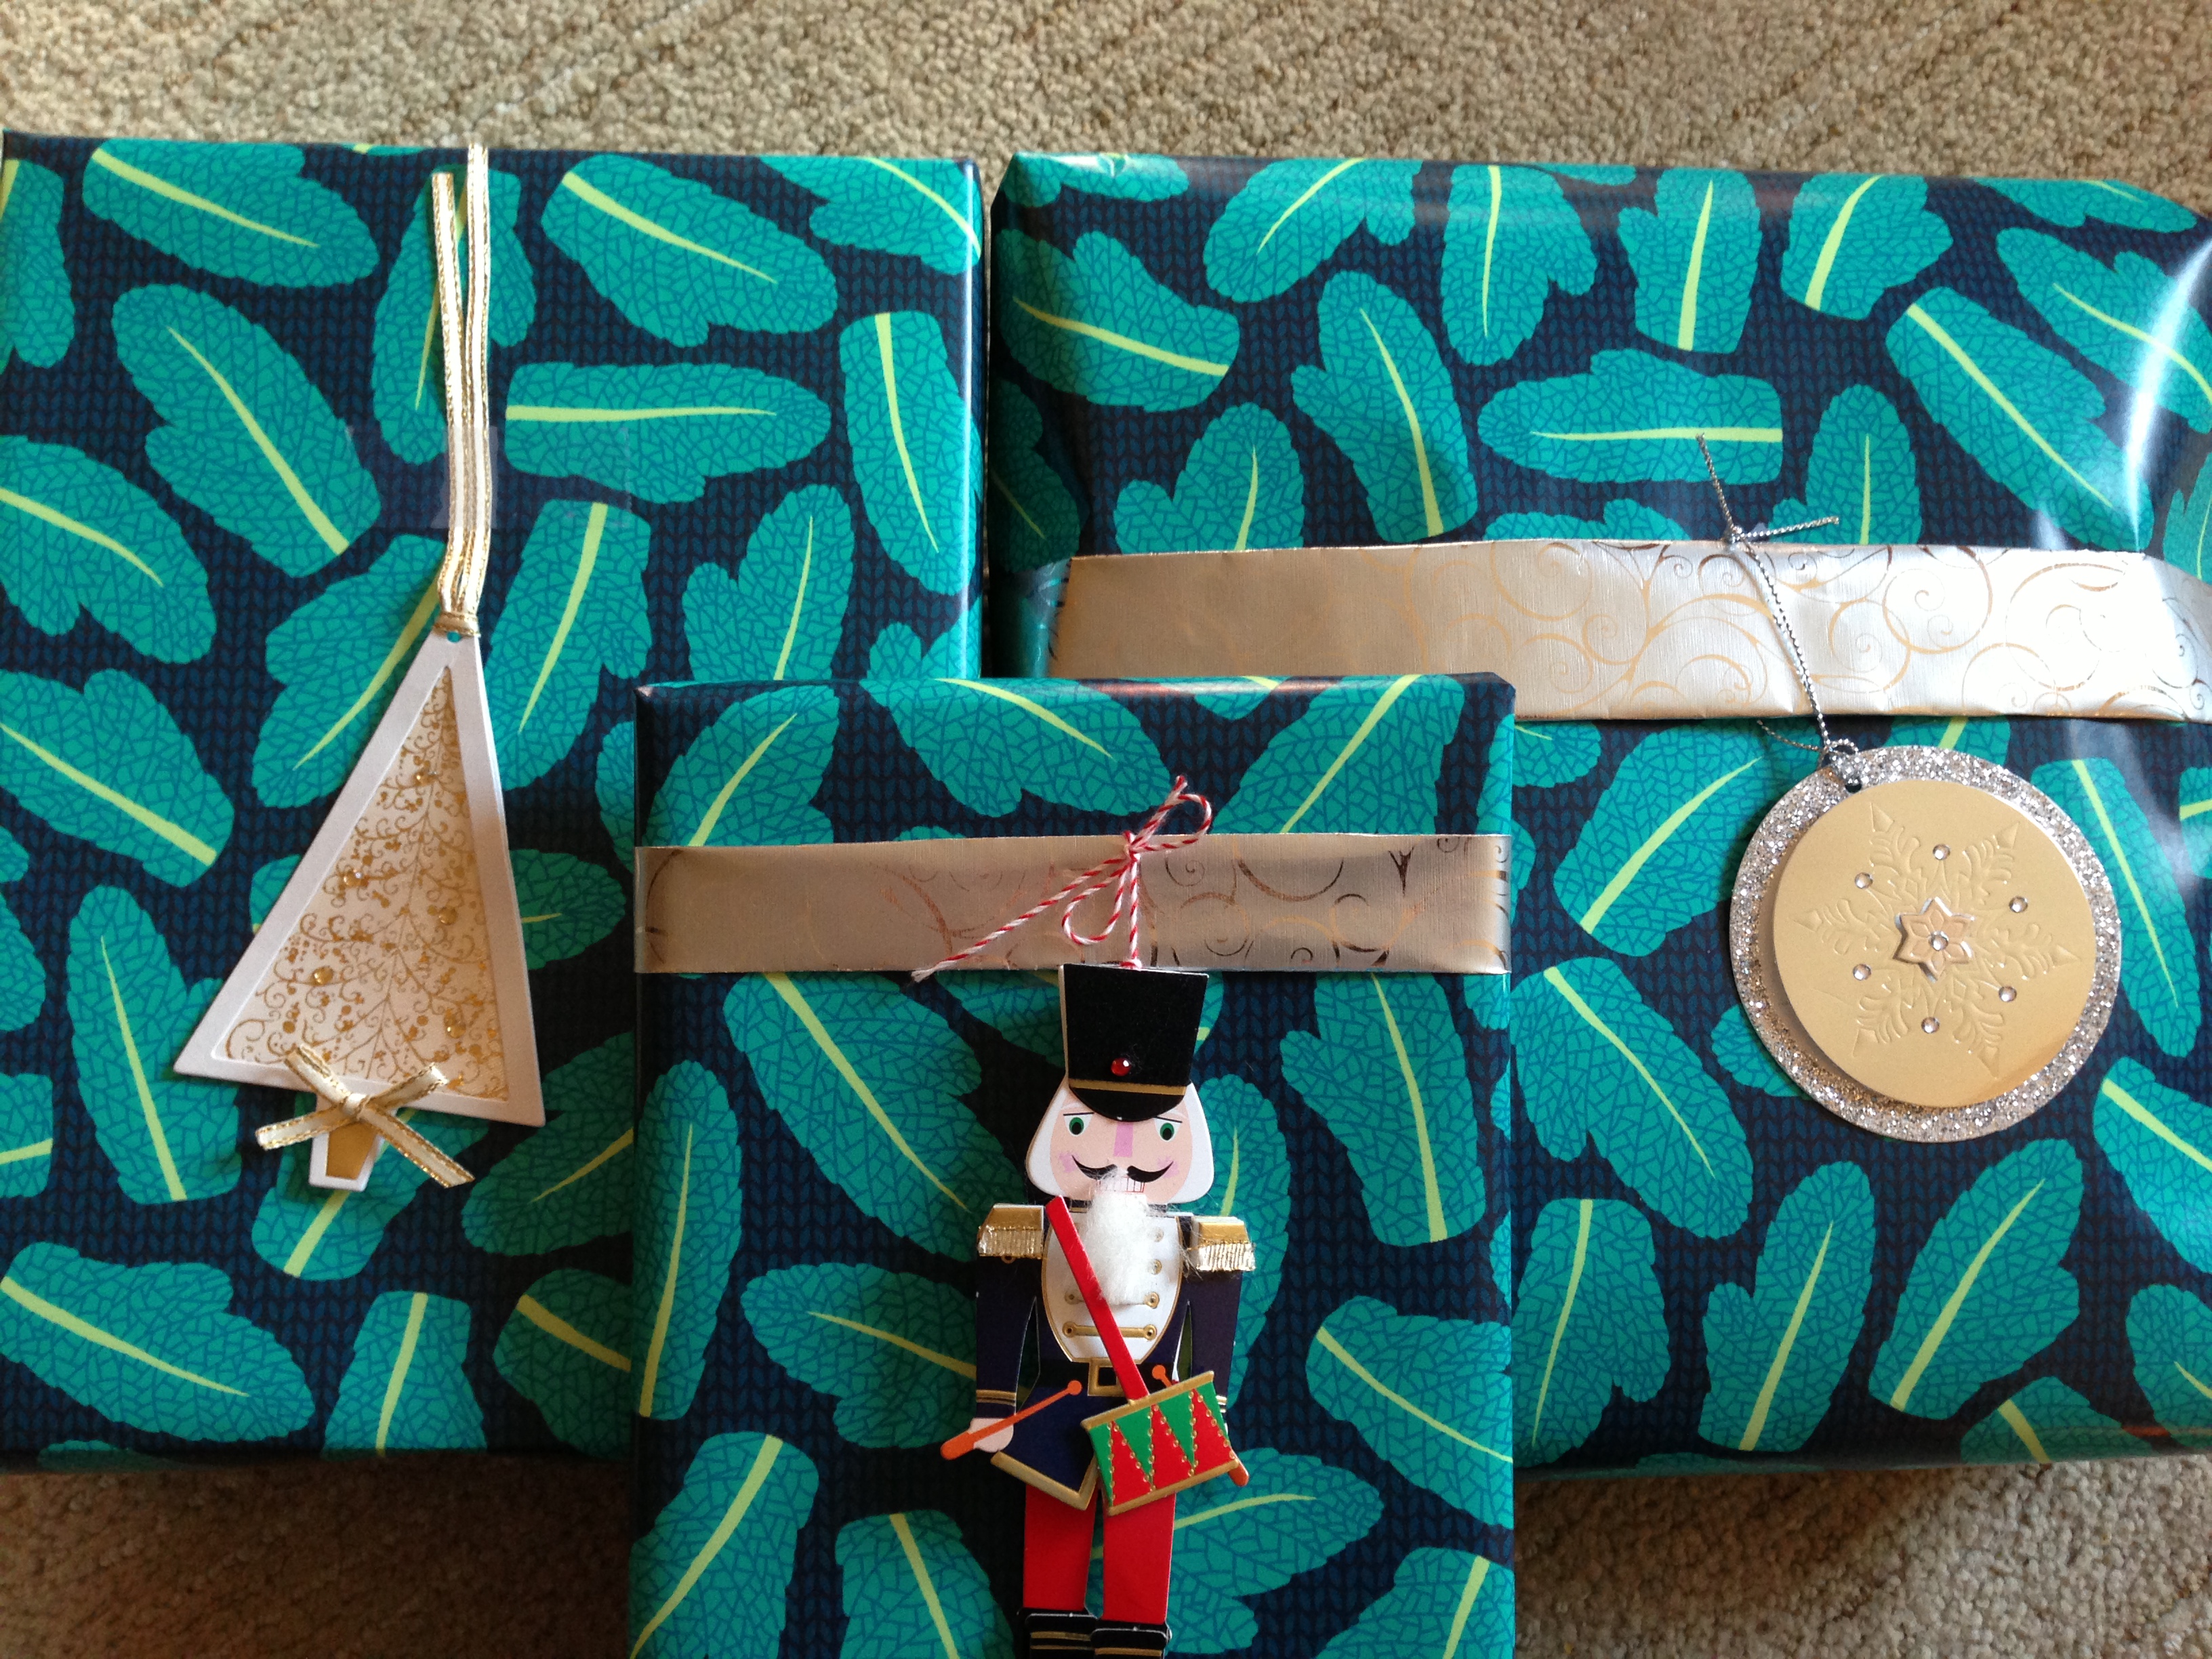
This year, I printed out two different designs of mine to use as wrapping paper for Christmas presents.
These two stacks of presents used up the two rolls completely. On the left, I used the cocoa mug design, which I altered slightly so that the mugs are pointing in all directions, plus I tweaked the colors to match those used by the "Christmas Colors" group palette. On the right, my calico, also using colors from that set.
Last year I used the scarabs, which I guess I didn't get a photo of. The year before that was the mint-ens, which I did take a photo of, but I don't think I posted here before.
Monday, December 28, 2015
Sunday, December 20, 2015
The zen of knitting
In my sleep-deprived state (due to the 11-week-old baby), some of my thought processes are a little off. When I came up with the idea for the "knitting" design contest and started it, I swear it made sense. On reflection, perhaps not so much.
In any case, I started off with a list of knitting abbreviations, and was going to do a typographical design with those. Somehow I thought of making each abbreviation a rock in a zen garden, so I used colors from this print to try to capture a little more Japanese flavor. It all came together like so:

I'm mostly happy with how it came out, but it is, as my mother said, "rather obscure." The main problem with it is that, from a distance, it looks kind of...scabby. Hmm. It made no impact in the contest.
Faux-fairisle/Christmas sweater knits were a recurring theme, of which this was my favorite. Also popular were repeats of balls of yarn, of which I liked this the most.
In any case, I started off with a list of knitting abbreviations, and was going to do a typographical design with those. Somehow I thought of making each abbreviation a rock in a zen garden, so I used colors from this print to try to capture a little more Japanese flavor. It all came together like so:

I'm mostly happy with how it came out, but it is, as my mother said, "rather obscure." The main problem with it is that, from a distance, it looks kind of...scabby. Hmm. It made no impact in the contest.
Faux-fairisle/Christmas sweater knits were a recurring theme, of which this was my favorite. Also popular were repeats of balls of yarn, of which I liked this the most.
Monday, December 14, 2015
Gift bag
This week, the design challenge was to make a at quarter cut-and-sew kit for a reusable gift bag. I based mine on this pattern, and reused my snow angel design. The light-colored fabric for the lining is the basketweave seen previously.

I got enough votes to just make it into the top half.
Most of the entries were pretty disappointing. A significant proportion of people ignored the whole cut-and-sew kit thing and just did the usual seamless repeats. The number of entries that were actually visibly appealing was quite low as well. Two that I did like were the ornament bag and the one that looks like a gingerbread house.
Friday, December 4, 2015
Family portrait
For the "family portrait" theme, my photographer husband gave me the great idea of doing kid's faces, making all the expressions besides smiling when pictures are being taken - eyes closed, fake smiles, etc. I had a lot of fun drawing a bunch of different exasperating children.

This was a tough contest to try to do something actually usable as a surface design, and not just a repeating illustration. (I don't consider myself to have succeeded in this regard either!) My entry just made it into the top quartile - not too shabby. The entry I liked best was this very cartoony one, which I could see being used for kid's pajamas or the like.

This was a tough contest to try to do something actually usable as a surface design, and not just a repeating illustration. (I don't consider myself to have succeeded in this regard either!) My entry just made it into the top quartile - not too shabby. The entry I liked best was this very cartoony one, which I could see being used for kid's pajamas or the like.
Thursday, December 3, 2015
Constructing Cthulhu
I was finally able to sew together the Cthulhu pillow I designed - I gave it to my niece for her birthday. Fortunately, my design worked the way I was hoping so I don't need to tweak the fabric.
I got it printed out on the "minky" fabric, which looked like this:
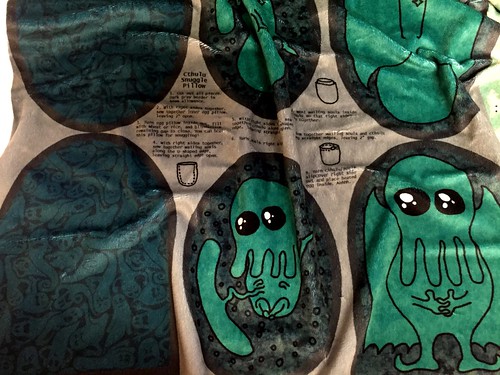
Then cut out all the pieces.
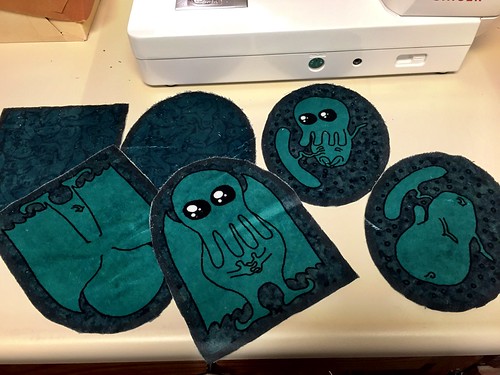
First, I sewed together the inner pillow, right sides together, leaving a gap for reversing and stuffing.
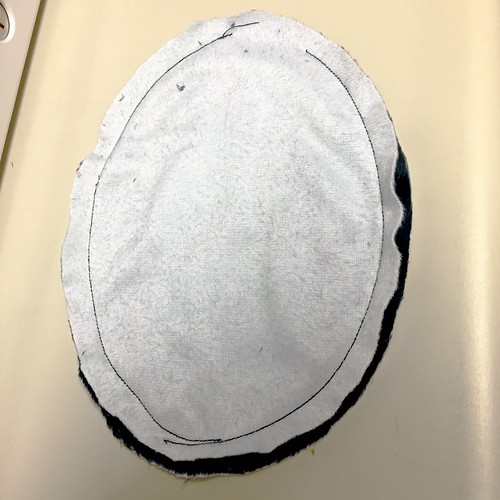
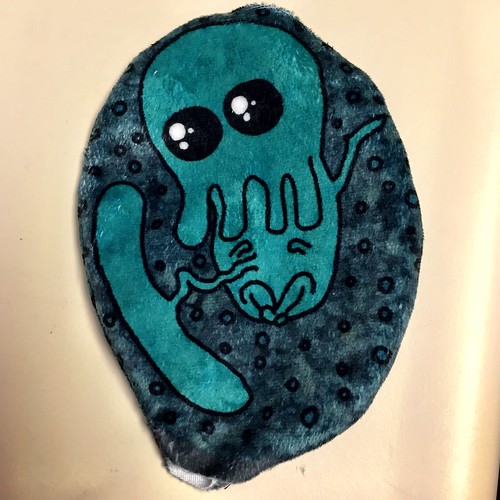
Then I filled it with rice. (And sewed the gap shut - by hand - after taking this picture)
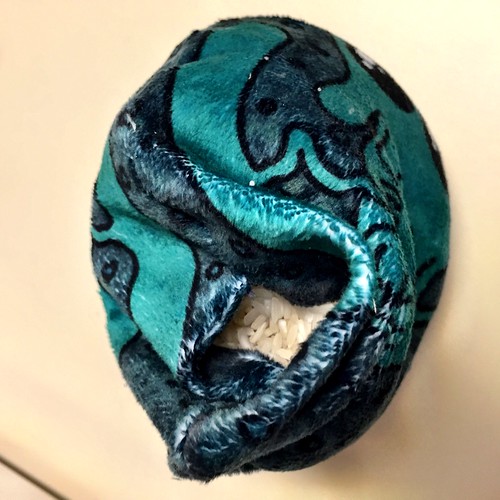
Next, I sewed the two sides of the slipcase together separately - just along the curve, leaving the bottom open.
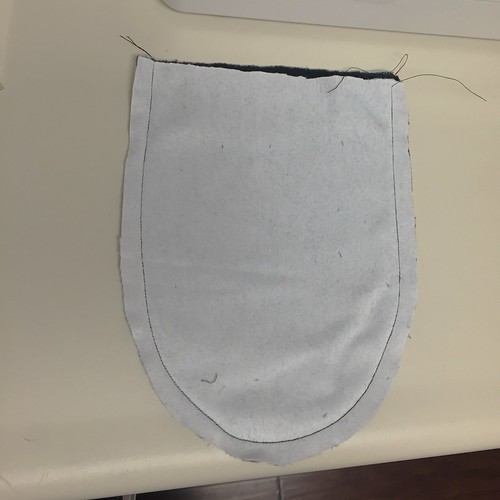
Then, I turned one half of the slipcase right side out and put it inside the other.
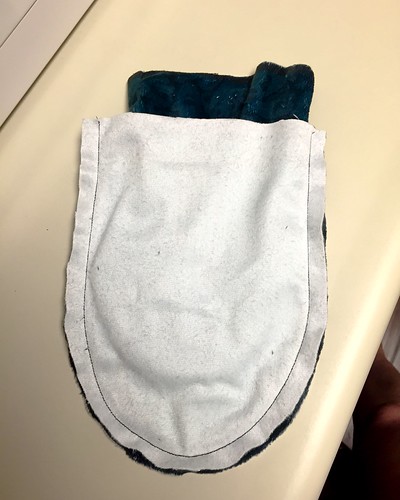
I sewed the two halves together, again leaving a gap.
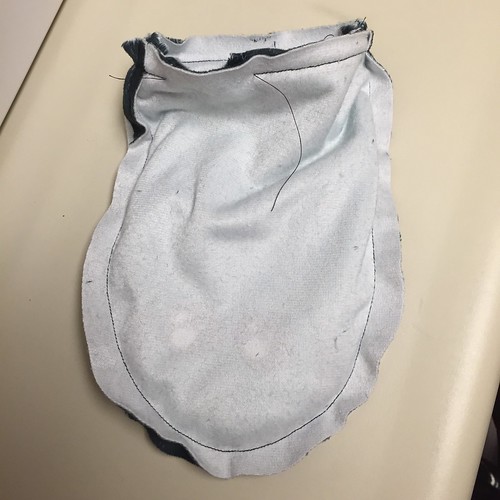
Here's what it looks like turned right side out.
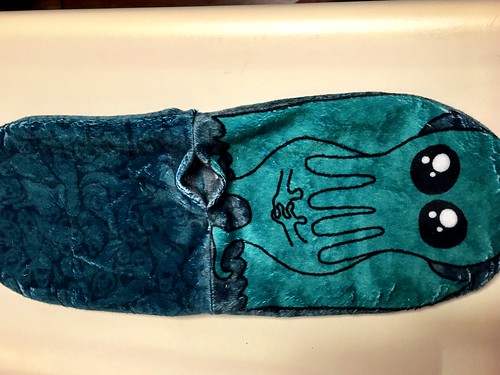
And then turned so that the lining is inside the outer case, gap sewn shut.
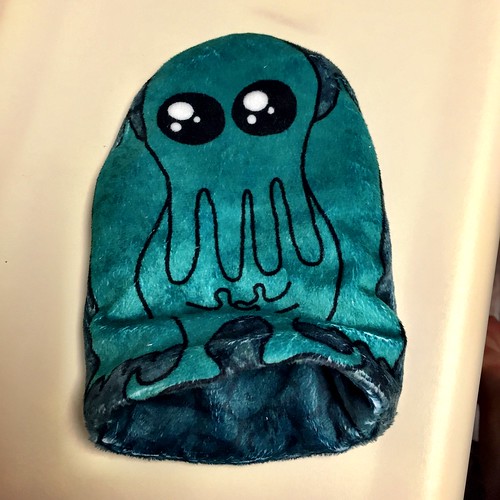
And voila, now the rice-filled pillow can be heated or cooled, and placed inside the slipcover!
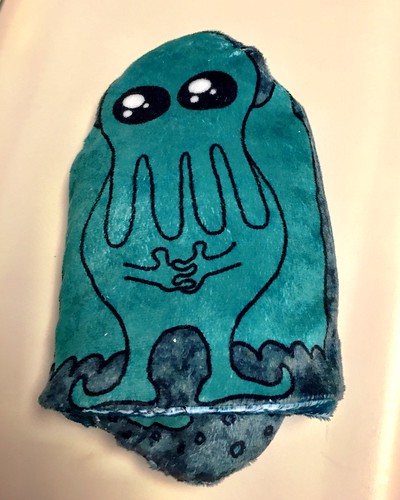
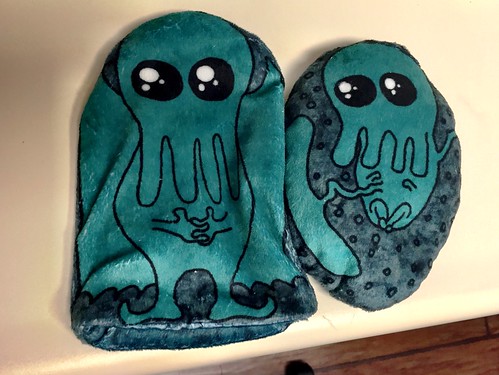
Also you can reverse the slipcover to show the pattern on the other side.
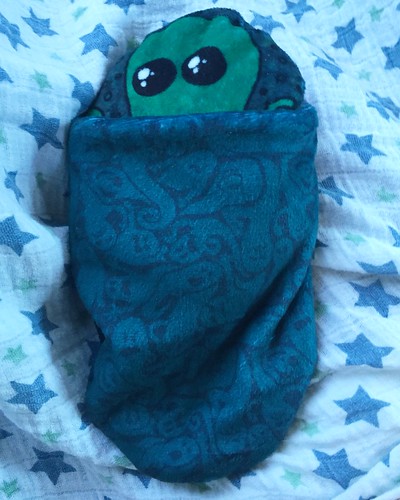
I got it printed out on the "minky" fabric, which looked like this:

Then cut out all the pieces.

First, I sewed together the inner pillow, right sides together, leaving a gap for reversing and stuffing.


Then I filled it with rice. (And sewed the gap shut - by hand - after taking this picture)

Next, I sewed the two sides of the slipcase together separately - just along the curve, leaving the bottom open.

Then, I turned one half of the slipcase right side out and put it inside the other.

I sewed the two halves together, again leaving a gap.

Here's what it looks like turned right side out.

And then turned so that the lining is inside the outer case, gap sewn shut.

And voila, now the rice-filled pillow can be heated or cooled, and placed inside the slipcover!


Also you can reverse the slipcover to show the pattern on the other side.

Subscribe to:
Posts (Atom)

