Showing posts with label family. Show all posts

Friday, December 4, 2015

Family portrait

For the "family portrait" theme, my photographer husband gave me the great idea of doing kid's faces, making all the expressions besides smiling when pictures are being taken - eyes closed, fake smiles, etc. I had a lot of fun drawing a bunch of different exasperating children.

Hold still and smile, darn it!

This was a tough contest to try to do something actually usable as a surface design, and not just a repeating illustration. (I don't consider myself to have succeeded in this regard either!) My entry just made it into the top quartile - not too shabby. The entry I liked best was this very cartoony one, which I could see being used for kid's pajamas or the like.

Thursday, December 3, 2015

Constructing Cthulhu

I was finally able to sew together the Cthulhu pillow I designed - I gave it to my niece for her birthday. Fortunately, my design worked the way I was hoping so I don't need to tweak the fabric.

I got it printed out on the "minky" fabric, which looked like this:
Sewing together Cthulhu pillow

Then cut out all the pieces.
Sewing together Cthulhu pillow

First, I sewed together the inner pillow, right sides together, leaving a gap for reversing and stuffing.
Sewing together Cthulhu pillow

Sewing together Cthulhu pillow

Then I filled it with rice. (And sewed the gap shut - by hand - after taking this picture)
Sewing together Cthulhu pillow

Next, I sewed the two sides of the slipcase together separately - just along the curve, leaving the bottom open.
Sewing together Cthulhu pillow

Then, I turned one half of the slipcase right side out and put it inside the other.
Sewing together Cthulhu pillow

I sewed the two halves together, again leaving a gap.
Sewing together Cthulhu pillow

Here's what it looks like turned right side out.
Sewing together Cthulhu pillow

And then turned so that the lining is inside the outer case, gap sewn shut.
Sewing together Cthulhu pillow

And voila, now the rice-filled pillow can be heated or cooled, and placed inside the slipcover!
Sewing together Cthulhu pillow

Sewing together Cthulhu pillow

Also you can reverse the slipcover to show the pattern on the other side.
Sewing together Cthulhu pillow

Sunday, October 4, 2015

Mermaids and other things for children

Spoonflower had a contest for a mermaid design - and this was another partner contest. The winner has a chance at getting their design made into girl's pajamas! So they had some (somewhat confusing) guidelines about not making the design motifs too big or too small, and not using more than eight colors. I didn't fuss too much about it, because I had my own purpose in mind for a mermaid design.

I was getting ready to make another set of three bags for our upcoming family Redwoods trip, and unlike last year where I used fabric I had on hand, I wanted to make specific fabric designs for each kid for their bags. So for my niece, I wanted to make robot mermaids, using the same colors as her robot quilt.

Robot Mermaids

And here's how it turned out as a bag:


The fabric for my son features some of his favorite things: dalmations, a convertible Mustang (just like Dad drives- well, except in yellow instead of gray), giraffes, and penguins. The penguins are facing each other because the last time he went to the zoo, he got to see two penguins pecking at each other and thought it was the most hilarious and interesting thing ever. "They were playing penguin BEAK FIGHTING!" he would say, with accompanying hand gestures. This uses the same set of colors as my animal tax accountant design.

Time_for_Taxes
Color by COLOURlovers

For my nephew, I found an interesting palette with his name:
Emmett
Color by COLOURlovers

And for the design, I combined some of his favorite animals: cheetahs, dragons (a two-legged wyvern style) and penguins.

So for my family it worked out well but made no impact in the mermaid competition. My favorite entry was this night-themed one.

Saturday, May 18, 2013

Birthday meerkats

My son turned two a few weeks ago. Amazing! We had a family party at our house on the day of his birthday (since it was a Sunday), and I managed to squeeze in a few crafty things. I tried to think of something that a toddler would actually consider a fun, special treat for a birthday party. Well, something he likes to do, but rarely gets to, is pull out Kleenex. So how about he gets a whole bunch of his very own Kleenex boxes he can pull as much from as he wants? In addition, when we've taken him to the zoo, his favorite animals were the meerkats. So I made meerkat Kleenex boxes!

Meerkat Kleenex boxes

I drew this using these photos as reference [1, 2, 3, 4, 5, 6, 7, 8] and got it printed on the new wrapping paper option at Spoonflower. (You may recognize the background as being the same one I used for the brolgas, in a more "dried grass" colorway.) The rows are five inches tall to match the boxes, so I just cut them in to strips and glue-sticked them on. I also tried to make the repeat match the circumference of these boxes, but I made an error somewhere so it's about 1/4" too long. Oh well!

Continuing the meerkat theme, I also made meerkat cupcakes.

Meerkat cupcakes

These are banana bread. I was originally going to try to make cream cheese frosting and color it with jam, but then I saw the speculoos (like ground up cookie paste) at Trader Joe's and used that instead. No mixing needed! The ears and eye patches are quartered prunes, and the eyes and noses are blueberries. I have wonderful memories of all the themed decorated cakes my mom made for my birthday each year, and even though my son is too young to request his own, I had a lot of fun continuing the tradition.

However, I think my son's favorite part of his birthday was that we removed the baby gate blocking off the kitchen for the day, to make it easier to serve lunch to everybody. The side effect of course, was that he could wander in whenever he wanted and open all the cabinets. That was just beyond exciting.

Wednesday, December 12, 2012

That eucalyptus pattern gets around

Back when I created a "family crest" pattern, I created two sub-patterns for it. One was a simple line drawing of eucalyptus leaves. I used it again to create a little more depth in the pomegranate cookie design. I recently had a chance to take it for a spin again.

First, some backstory. When I was a kid, every year at Thanksgiving we'd gather with the extended family on my mom's side at an old house on an orange orchard that the family owned but nobody occupied year-round. The bathroom at the back of the house had these strange old (probably decades old) paper hand towels that just hung there yellowing and never got used. They had pictures of sobbing seahorses,with the text "Have you ever seen a seahorse cry? You should, he has no hands to dry!" So very odd.

Once the house finally got sold and its contents were packed up and divided among certain family members (a saga too long to even touch on now), nobody was able to put those aside. Perhaps some are still in a box somewhere; perhaps none exist. I had been wishing for years that I could get my hands on one to scan it and turn it into a real towel. Well, fast-forward to this year, when my brother was gearing up to host Thanksgiving at his house again, and he suggested that I should just draw my own version and make those the new Thanksgiving towels. Challenge accepted!

For the text, I found a couple of retro fonts I liked: Roadbrush and Simplesnails. I searched for seventies-inspired colors and decided on these:
oshkosh
Color by COLOURlovers

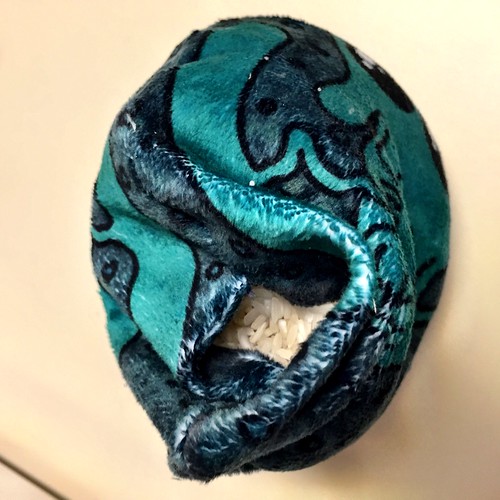
Next I had fun drawing some distraught seahorses. I framed the whole thing using the rounded lattice previously seen here. Then I thought it still looked a bit plain so I put that trusty eucalyptus pattern very lightly in the background (though rotated 20 degrees, since putting it next to text made the horizontal repeat wayyyyy too obvious).

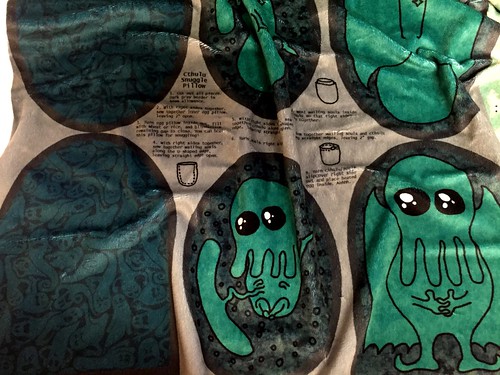
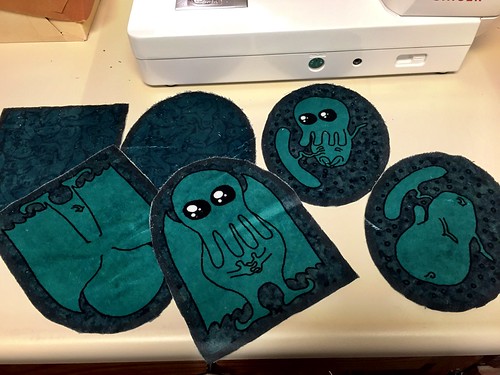
I decided to make the overall size six inches by nine inches, so that it would be nicely visible when appliqued onto a hand towel but not take up the whole front. Plus that size meant I could fit exactly nine on a fat quarter of cotton-linen (which Spoonflower has wider than the plain standard cotton) like so:

Have you ever seen a seahorse cry? You should; he has no hands to dry!

Then, since I had a streak to maintain, I got the printed fabric on literally the day before we headed out of town for Thanksgiving, and started sewing the towels in the car. The towels themselves are from here.

Seahorse towel

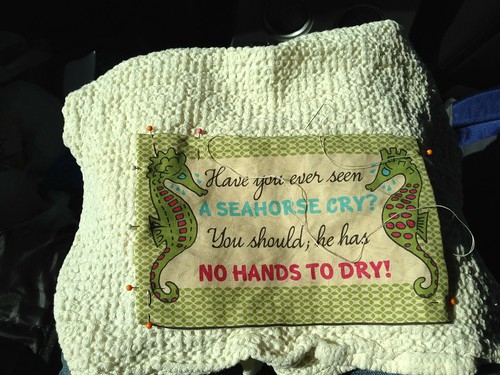
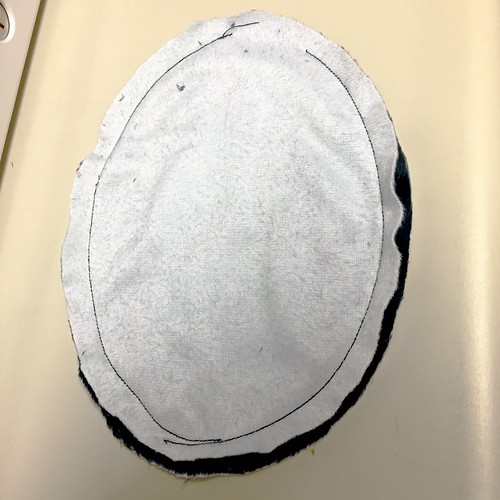
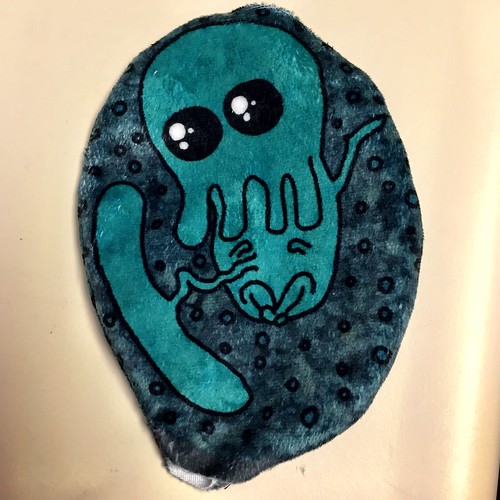
Each patch is just blind-stitched on to the towel. I managed to finish all nine in time, on the drive up and during naptimes at my mother-in-law's house. (The above picture shows me sewing in the car - you can imagine my toddler son directly to the right of this, asleep in his carseat.)  I gave eight to my brother and kept one for myself. I had prewashed the towels and the fabric before we left, so they were ready to put into service as soon as we arrived!

Seahorse towel

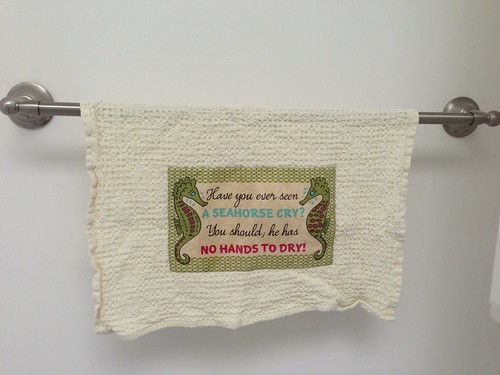
It'll be fun to get to use these every year now. They seemed to be a hit with my extended family. I still cherish the idea of someday miraculously finding the original.

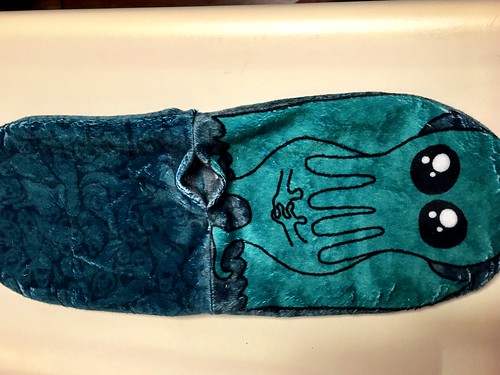
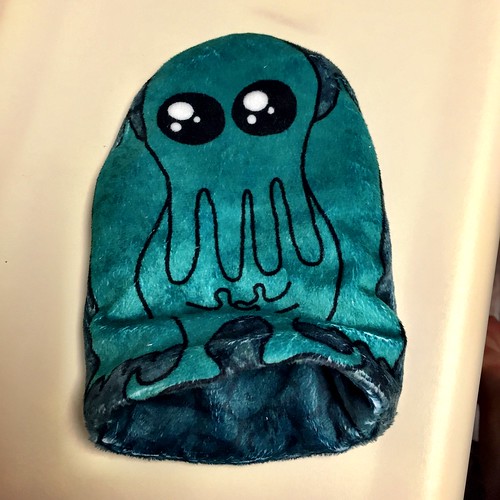
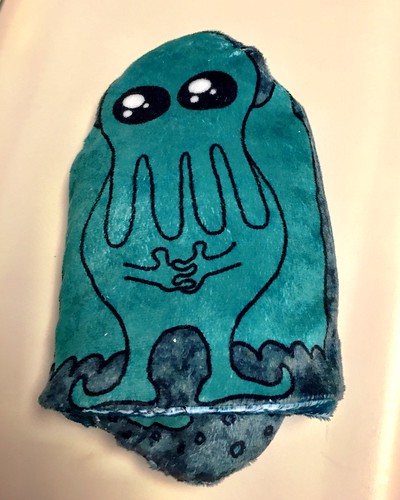
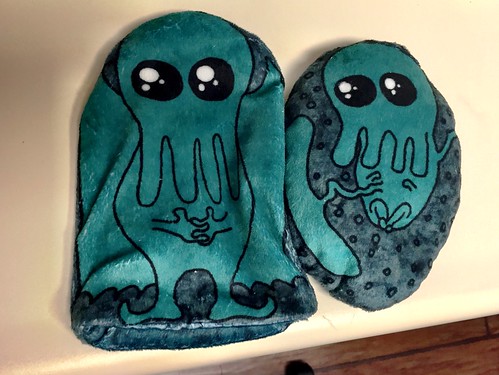
Oh yeah, the other pattern in that family crest? That would be the little repeat of handguns. I just got a notice that somebody ordered FIVE YARDS of it...on SILK. As my husband said, that's a heck of a set of pajamas!