Monday, October 29, 2018

Easy mode: beanbags!

Since I already had beanbags on the brain, for this week's cut and sew project, I did mini beanbags - i.e. rectangles! Doesn't get much easier than that. And of course you could fill them with dried lavender instead to make sachets. Or potpourri or what have you.

Super Cheery Sachets

This didn't get anywhere in the voting. My favorite was the plush VHS!

Thursday, October 18, 2018

Pull the blanket over your head and ignore it

For this week's contest, we had to use these colors:

I thought the theme was also "cozy," but now I don't see that on the contest description anywhere so apparently I imagined it! I tried to make it look like people curled up, completely enveloped in blankets.

all wrapped up

This did REALLY badly in the contest. (Hence the post title! Whoo!) My favorites were the forest floor items and the bananas.

Monday, October 15, 2018

Halloween Cornhole Beanbags

Bruce's second grade class is doing a cornhole booth for the school fair. Some other parents made and painted the board, and my husband got some black and orange beanbags. He suggested stenciling something on them to enhance the theme. Challenge accepted!

I decided to try out freezer paper stencils. Since the beanbags wouldn't be possible to keep flat while painting that seemed like an easier way to go.

I considered doing a different picture on each beanbag but decided to make it a little easier. After a little discussion with the spouse, I decided to go for skulls on the black ones and bats on the orange ones. I used this skull and this bat.

Once I had the freezer paper and fabric paint on hand, it was just a matter of finding the right moment when I could try to paint eight beanbags without having too many little fingers nearby. Fortunately James actually took a nap on a weekend, so I struck!

First step was to print out eight copies of each image (since I wanted to paint both sides of each beanbag) on the freezer paper, then cut out the shapes. It took me probably 20 sheets of freezer paper to get this right, because I kept putting them in the printer upside down! You wouldn't think I'd be able to make that same mistake so many times...but you'd be wrong.

Then, I got to use my little craft iron for the first time to stick the paper on. Had some trouble keeping it hot enough, though. It seemed like it would cool off after a few minutes of operating, and I had to turn it off and back on to get it back to maximum.
Next was paint! I used a metallic black for the bats. Two of the skulls were in flat white, and two in metallic white. I had to do two coats for the skulls to get it nice and light over the black fabric.
Here they all are drying off! Once they were dried, it was time to flip 'em and repeat for the other side. And then, I got to peel off all the stencils.
I also added little red dots for the bats' eyes. And ta-da! Complete!
Not perfect, but I'm pretty pleased considering it's the first time I've tried that particular technique. 

Thursday, October 4, 2018

A Month of Tea Towels

Whoops, got behind on posting contest results again. This is the time of year that Spoonflower does tea towels. So we need to design for a 18 by 27 inch rectangle (the size of the cotton/linen fat quarter). This year they actually have it set up to display in the contest on a fully-rendered towel, which is nice - since it's a 90 degree rotation from how the fabric normally displays, making it an awkward choice.

First, there's always a calendar challenge. I put each month into a single column and added color-coding for the seasons, also noting the equinoxes, solstices, and phases of the moon.

2019 At a Glance

Here it is in the towel preview - you can see how much hem allowance you have to leave around the edge of the design.


My favorite calendar was the one with the envelopes.

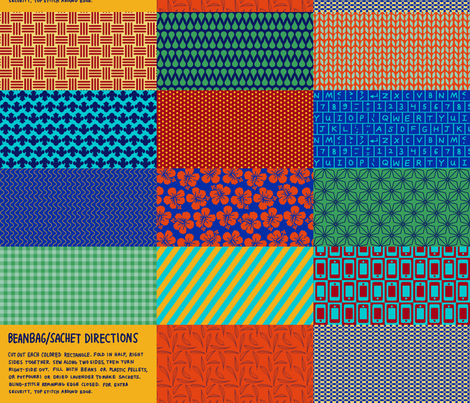
For the "retro bar cart" towel, I went with a plain repeating design rather than tailoring something for the towel shape.

Carbonation/Intoxication

I don't drink, am not into drinking culture at all, and am even not particularly into the fifties/sixties type of retro they mean for this contest. So it was a bit tricky to get a toehold! I made this board and found some few elements that called to me. (You can probably spot my color inspiration there too!) I was trying to give the sensation of a carbonated liquid fizzing.

My favorite was this one that takes advantage of how the towel could be folded in half to hang it up.

Next, the theme was to do a visual pun. I used one my son told me off of a Gogurt: what kind of shoe do ninjas wear? Sneakers! I had very little time to work on this one, so I went with big and cartoony:


My favorite was the thematically appropriate Wetness Protection Program.

Next, the theme was just Animals. I had even less time for this one, so I reused the elements I made for a whale/bat design.  This is a life-size Blue Whale eye and the entire body of a Bumblebee Bat - the largest and smallest mammals.


My favorites were these swans and the bee/bear.


And finally! The recipe tea towel. I put eight of my favorites (including old family favorites from my mom and grandma) in a grid, leaving a space in the middle for someone to add their OWN recipe.


My favorite was the diagrammatic representation of a jam recipe.