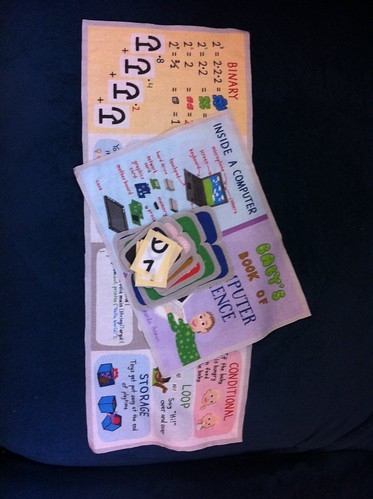
Being an organized sort, I cut out all the pieces and trimmed them down to the marked seam allowance. The gray (or yellow) 1/4" outlines are all supposed to be hidden in the seam.
The first part of the sewing I tackled was to finish all the flaps. I started with the 1/0 flaps for the binary page. Contrary to my printed directions, I decided that they were too small to sew inside out and then flip right side out, so I just folded them together right side out to start with and simply blind-stitched them.
First, I folded in the seam allowance:
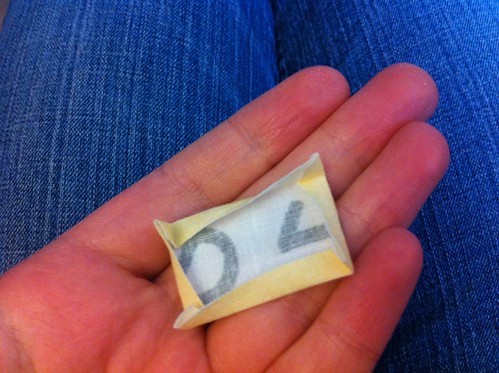
Then folded it in half and started blindstitching from the folded point:
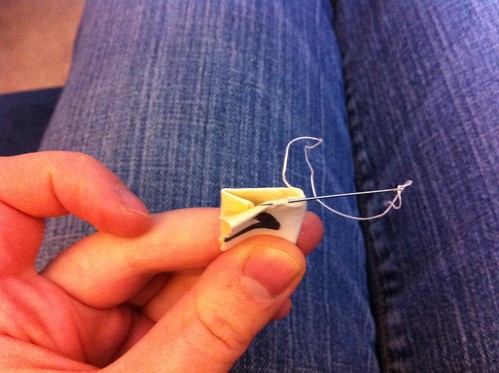
Here's what the finished flap looks like. You don't need to stress about the neatness of the stitching too much since this side gets sewn down to the page.
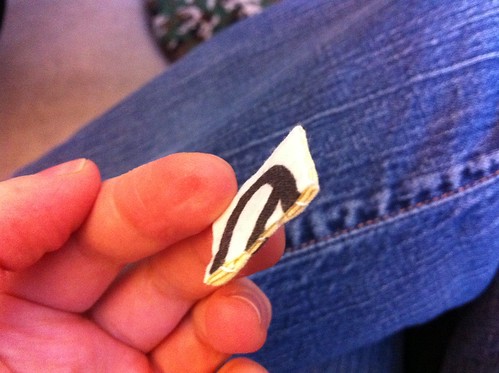
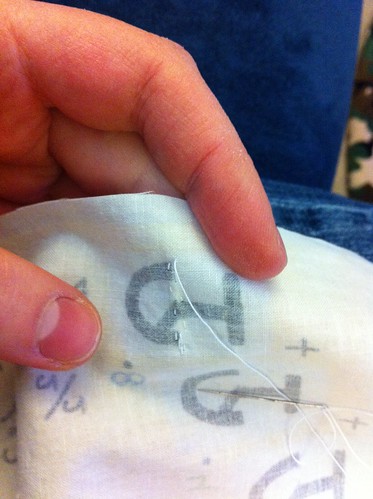
Once I sewed all four of those flaps that way, I sewed them onto the binary page. Since I wanted them to be equally able to be in the up and down position, I sewed them so they'd default to sticking straight out of the page. Not quite sure if there is a name for the exact stitching I did, but it was pretty much like blindstitching. With each stitch I went all the way through the bottom of the flap and sewed it to the page on alternating sides.
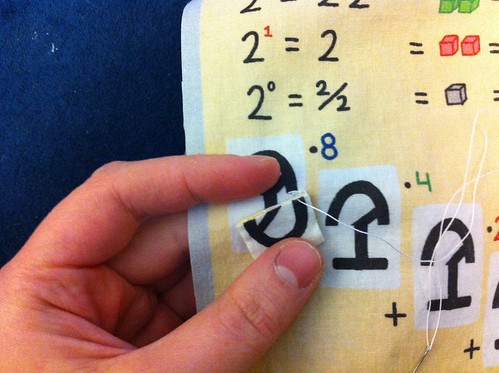
Which looks like this from the back when it's all done:
Next, I worked on the flaps for the page with all the different "Hello World" programs.
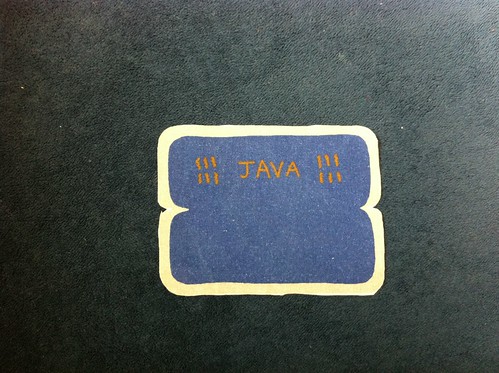
I did try to sew these wrong sides together at first, and then turn them right side out with just an inch or so to go in order to minimize blindstitching, but decided that like the 1/0 flaps these are just too small to make it worth it. So I started out by folding them in half.
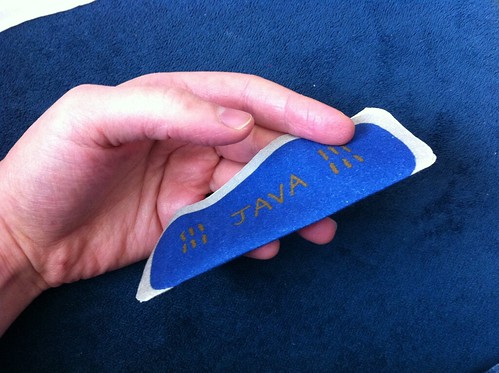
To get the corners to curve nicely, start with just a little reverse tuck.
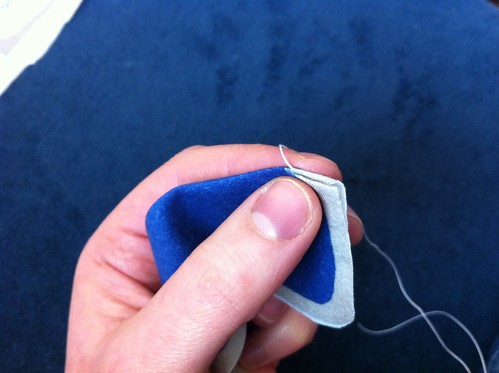
With each stitch, turn it in a little further.
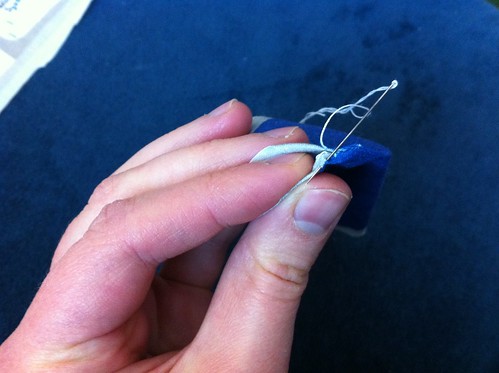
Then just keep turning the seam allowance in and blindstitch all the way around.

Once I sewed all the language flaps together, I sewed them onto the page. Since I wanted these to lie flat by default, I whipstitched them on.
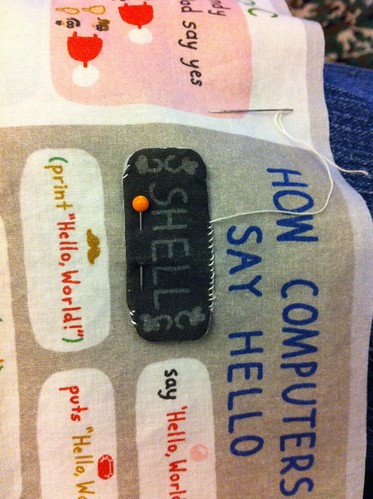
Once all those flaps were in place, I heaved a sigh of relief. Ahhh. If you're following along as you sew one of these yourself, relax! The hardest part is done. Next, I folded the four page segment (that was now thoroughly be-flapped) in half right sides together, and sewed the two middle pages together top and bottom.
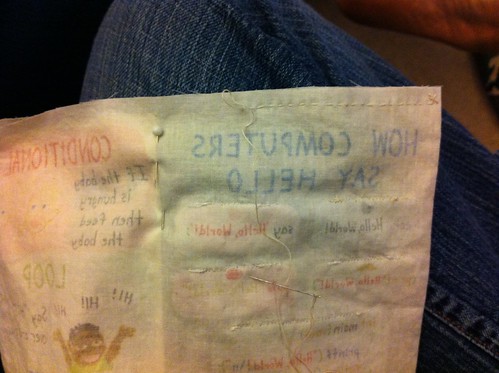
When that was done it looked like this:
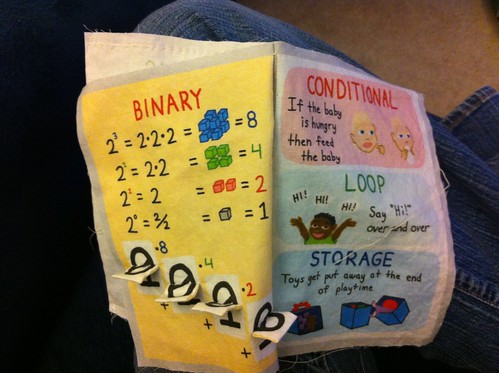
Closing in! Next step was to pin the two-page segment onto the four-page segment, right sides together. I triple-checked that all the pages had "up" in the same direction.
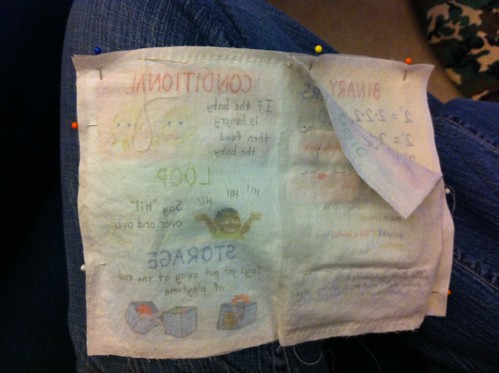
I sewed all around except for a few inches along the bottom, then turned it right side out. I used a skewer to push the corners out to get them as square as possible.
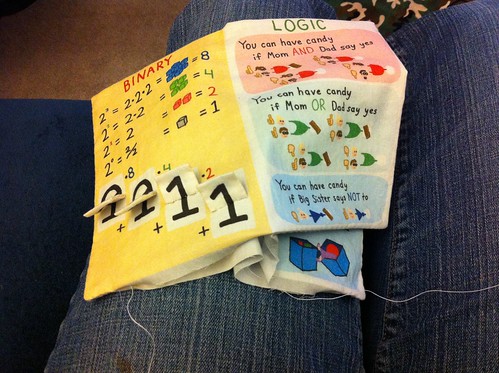
Then it was just a matter of blindstitching together those last few inches.
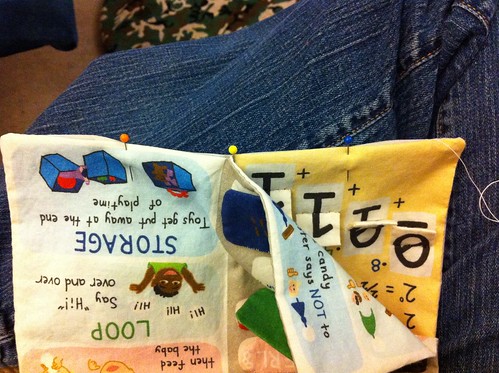
See this post again for images of the completed book!
I also included a little rectangle on the fabric that can be used to create a little closure for the book (if you add a button, snap, velcro, or the like) but I decided to skip it.
1 comment:
This is so fabulous! I just purchased it from Spoonflower. I'm going to make this for my 16 month old son, who LOVES books. My husband is a programmer and he started young - like 8 years old? I can't remember. His dad is also a programmer so he picked it up as soon as he could grasp it, I imagine. In short, this book is perfect! Thanks for sharing how to sew it up. I'm a novice at sewing and your instructions are very clear!
ETA: My google account was being screwy, so if this post came through a million times, I apologize!
Post a Comment